
Planning your Kitchen Garden
Since the beginning of our journey on our property and homestead, growing our own food has been one of our main aspirations and dreams in the overall scheme of our property development. To many people, gardening means getting their hands dirty so to speak and finding a deeper connection with were there food comes from. Gardening can be overwhelming at first for people that are unaware of many of the basic information of plants and soil and how they work together. If you take some time and decide to learn more about the soil you are working with and how plants work, then you can develop a stronger knowledge of how these connections work together, which will increase your yields and the connection you get out of your garden. For us, we are trying to develop a kitchen garden that uses sustainable and organic practices while avoiding the use of any GMO’s seeds and using simple garden techniques that will increase soil fertility over time as opposed to destroy it and creating better soil structure each year.
Goals: When planning your garden, whether its your first garden or not, its helpful to have a goal in mind in order to keep your energy focused and producing things that make you happy and can be put to good use. Its exciting to grow new plants, but theres no reason to put effort into growing pounds of kale if no one in the house enjoys it. Are you planning on growing herbs to cook with? micro greens? annual vegetables for yourself or others? Annual or perennial flowers for bouquets or bees, or maybe food for animals. If you want a successful garden, the best gardeners and permaculture practitioners stack functions. This simply means that each plant can serve more than one function which leads to a more synergistic effect. If you like chamomile flowers because they smell good, they also make a relaxing tea and attract beneficial pollinators and insects. We are planning our garden as to serve multiple purposes. We want grow salad greens, fruits, veggies, medicinal herbs, flowers, and possibly grains for our own consumption, while also growing flowering annuals and perennials for our new bee hives and other beneficial pollinating insects. We also have egg laying chickens so we would like to grow greens that we can supplement in their diet reducing grain consumption we buy from the store.
Where will you grow:
As much as you want to grow your own food, you need a space to grow it. It can be a large acreage, small backyard, urban patio or along a fence. People can even grow their own greens indoors using grow lights or simply growing sprouts in jars in their kitchen. The different ways of growing food is endless. For this blog i will keep to outdoor gardening as indoor growing is a discussion by itself.
When choosing your garden location, it’s recommended that the area get at least 6-8 hours of sunlight a day in order for plants to thrive. For us, our property has no shortage of sun so the location of our garden was more chosen based on it being a good location for us between our greenhouse and our house as we will be visiting it daily for check-ups and harvesting. If you are unsure about where the sun hits your location there are simple phone apps that can help. I use an app called Lumos. It is a big help when planning a garden because you can track the path of the sun during any day of any year. You can change the days to see the height of the sun during the winter and summer solstice, potentially locating objects in and around your outdoor growing area that could cast shade during certain times of year. If you are stuck with areas with less than adequate sun, there are plants that thrive in low sun and you can plan accordingly.
What will you grow in:
If growing outdoors, will you be growing in ground? in pots? raised beds? double Dug beds? Lasagna beds? There are many options to look into that each have their own pros and cons based on your personal situation.
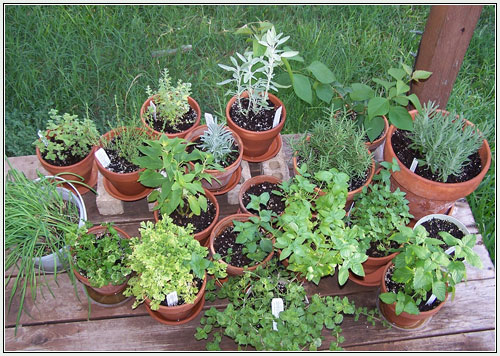
Pots: If you grow in pots or raised beds, you have the benefit of starting with new soil or soilless mixes that are specifically created for growing food. Pots are nice because they come in small sizes that can be grown on a windowsill or a deck or patio. They are also easy to move if cold weather becomes an issue and you want to move plants indoors to protect them. They have large pots as well that can grow much larger plants even small trees.
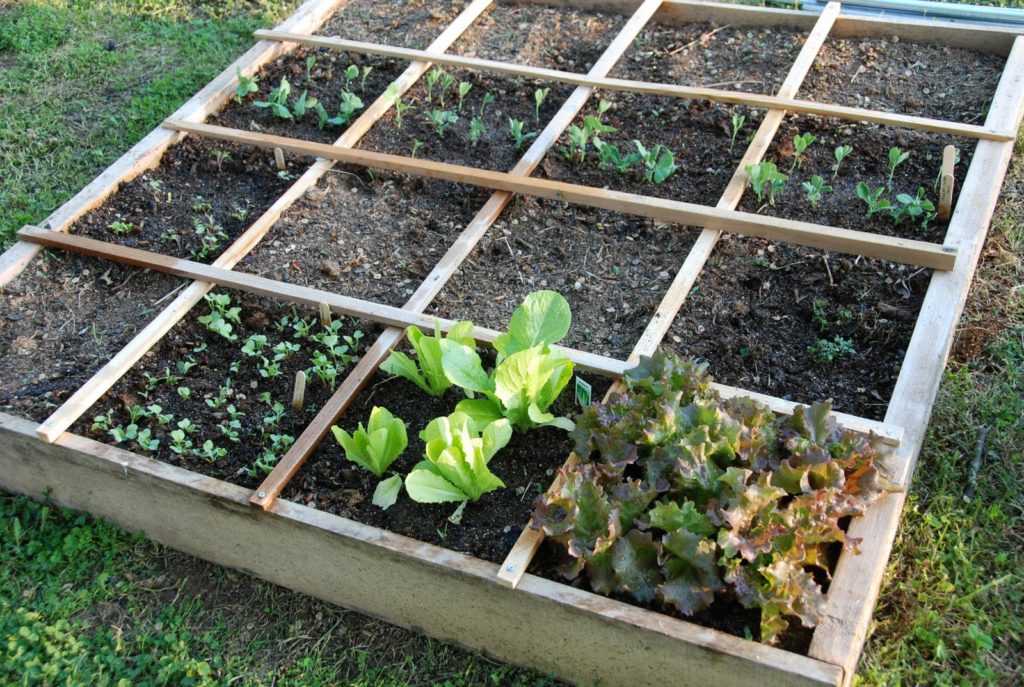
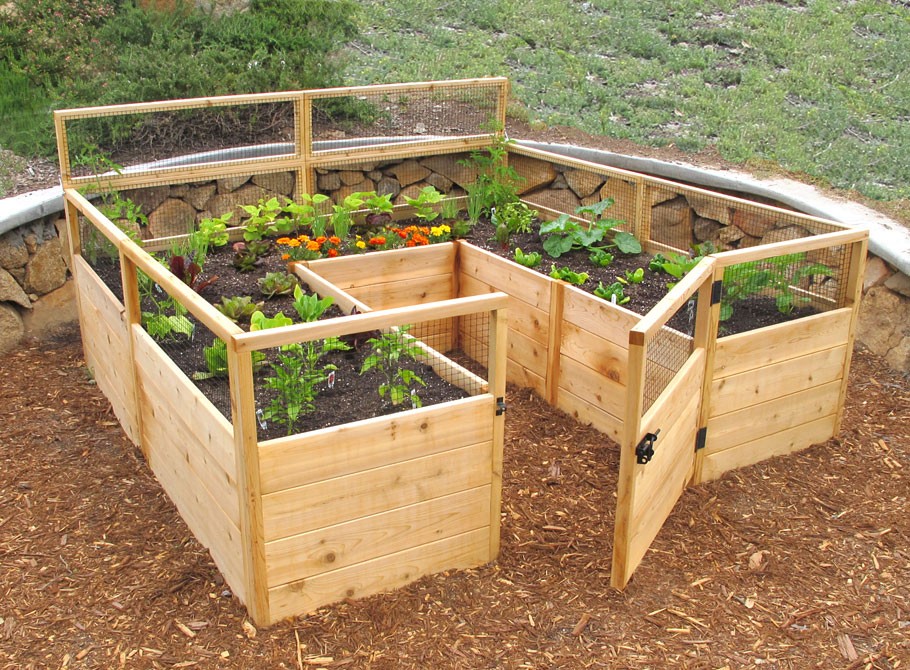
Raised Beds: Raised based are nice is you want more of a permanent growing area. You can use your own mix of purchased soil or use soil from your yard amended with compost and peat moss to coco coir. Raised beds are normally rectangle boxes than can be made in any size you want based on the specifics of the growing area you are working with. You can also make raised beds with Keyhole designs which is basically a small horseshoe shape that increases growing space per square foot compared a gardening in rows. We plan on having a few small boxed garden beds at the entrances of the garden that we will trellis along the deer fence we put around the garden. We plan on trying grapes, hardy kiwis, and nasturtiums, all plants I’ve never grown before but are climbers I have wanted to try in our climate.
In-ground Rows:If you decide to break new soil and grow in rows in the ground you should take a couple steps to ensure your soil has what it needs to grow nutritious food. You should do a simple soil Ph test and figure out where your soil tests. Most crops need a Ph between 6.0-7.5 so if your soil test too low or high you know to add certain amendments accordingly to adjust your Ph. This is important because soils with too high or low of Ph will essentially lock out available nutrients in the soil so the plants will eventually starve even if the soil has good N-P-K ratios. I tend to always use quality composts and amendments that will help add nutrients to the soil and plants, help loosen it for better root penetration and improve the soil overall soil structure.
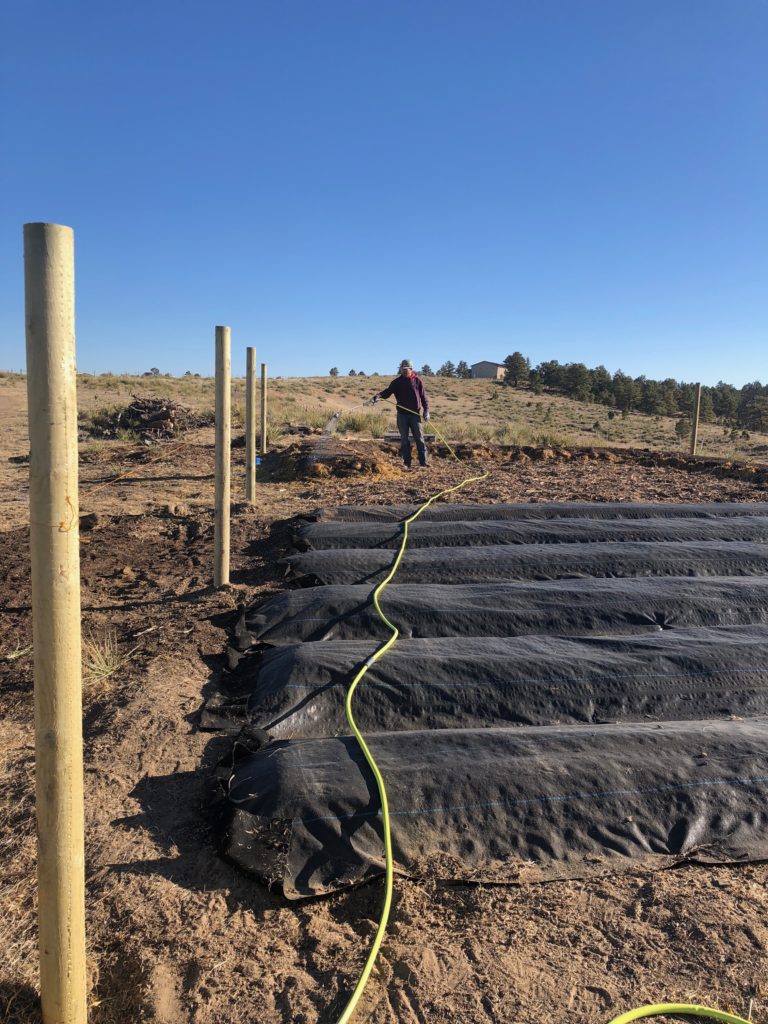
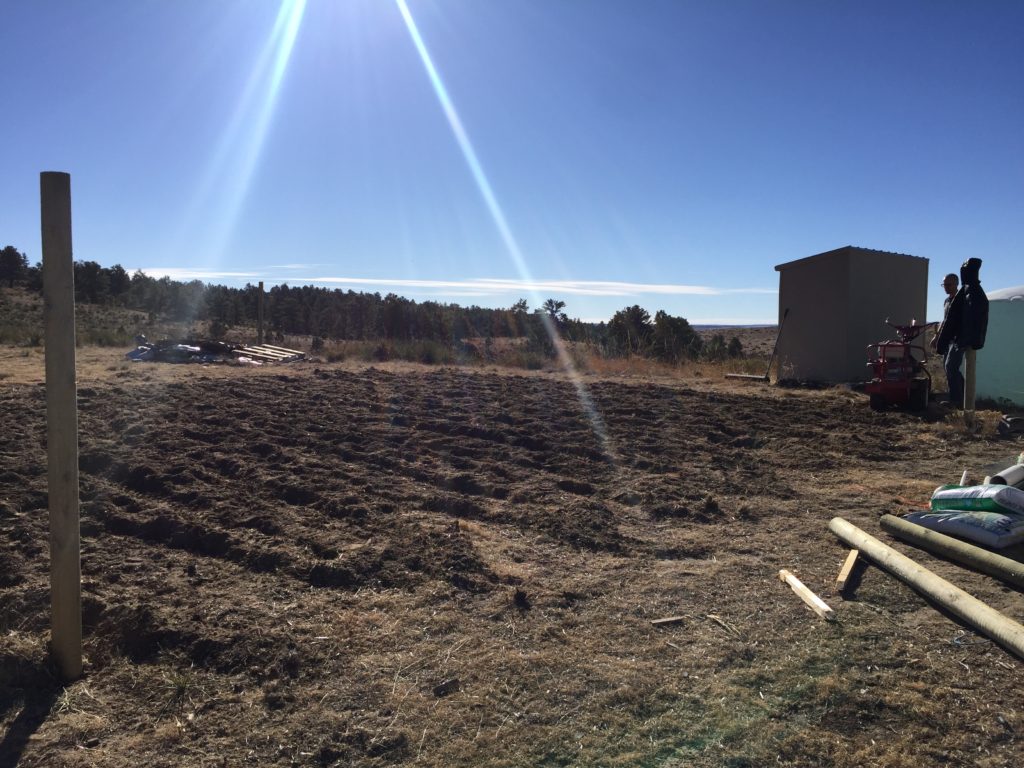

Our kitchen garden has 6 30” wide 25’ long in ground beds that will be used for growing mostly annuals such as our salad greens, onions, carrots, flowers, sunflowers and cover crops for chicken feed. We did rent a tiller and initially tilled the area for plating. Tilling is yet another topic in and of itself but it does have beneficial effects on gardening but is not good for soil structure to repeat tilling every year. My thought is that our ground will be unable to grow food due to its very dense prairie root structure, so tiling will quickly turn the soil structure into something loose we can plant in in spring but we will not till again on any of the beds preserving the soil structure. We also have a large horse shoe shaped lasagna garden bed that will have more perennial native flowers and herbs that we can use in teas and for cut flowers as well as attract pollinators.
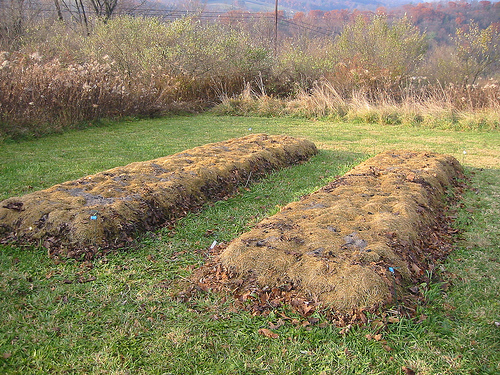
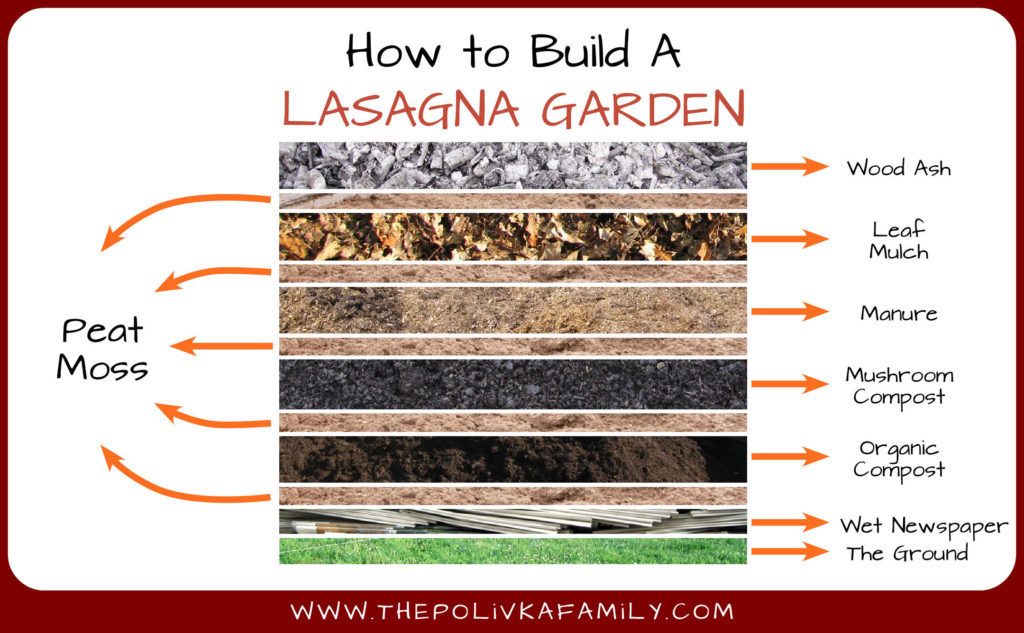
Lasagna Gardens: are a way to grow above the ground while also taking advantage of recycle products. Materials consist of layers of cardboard at the base followed by alternating layers of compost, manure, and straw mostly. The cardboard serves as a way to smother grass and prevent weed growth in the garden while the layers of organic material create an airy growing medium that will decompose over time and creating better soil over time. In order to keep beds and gardens productive over time we plan on adding large portions of compost and mineral powders each season.
What to grow: After you have chosen where you can grow outside, the fun part is deciding what to grow. There are a few things to keep in mind while choosing from endless varieties of fruits and vegetables.
1) Where do you live? Based on where your live, your growing zone will change. In Canada and North America growing zones are based on average low temperatures that occur in that area during winter. From north to south, the zones range from 1-11 but in general United States ranges from sone 2-10, the northern states having lowers numbers and lower winter temperatures. You can always experiment but you will want to choose varieties that will grow in your zone. We are in zone 5 so we can grow most vegetable crops and fruits like apples, plums, peaches, etc, but things like citrus and other tropical environment foods will not survive the harsh winter here.
Based on your growing zone, what will you grow? Annuals or perennials or a mix of both. Annuals are all plants that complete their full life cycle in one season. This will include most vegetables as well as many herbs and flowers. Perennials are plants that take more than one year to finish their life. Perennials can range from some vegetables to flowers, herbs, and mostly bush/shrubs and trees. Perennials are great things to have in garden because once you plant them, they come back year creating less work for the gardener. Once established they take little care compared to many annuals that have smaller root structures and need to be watered more often.
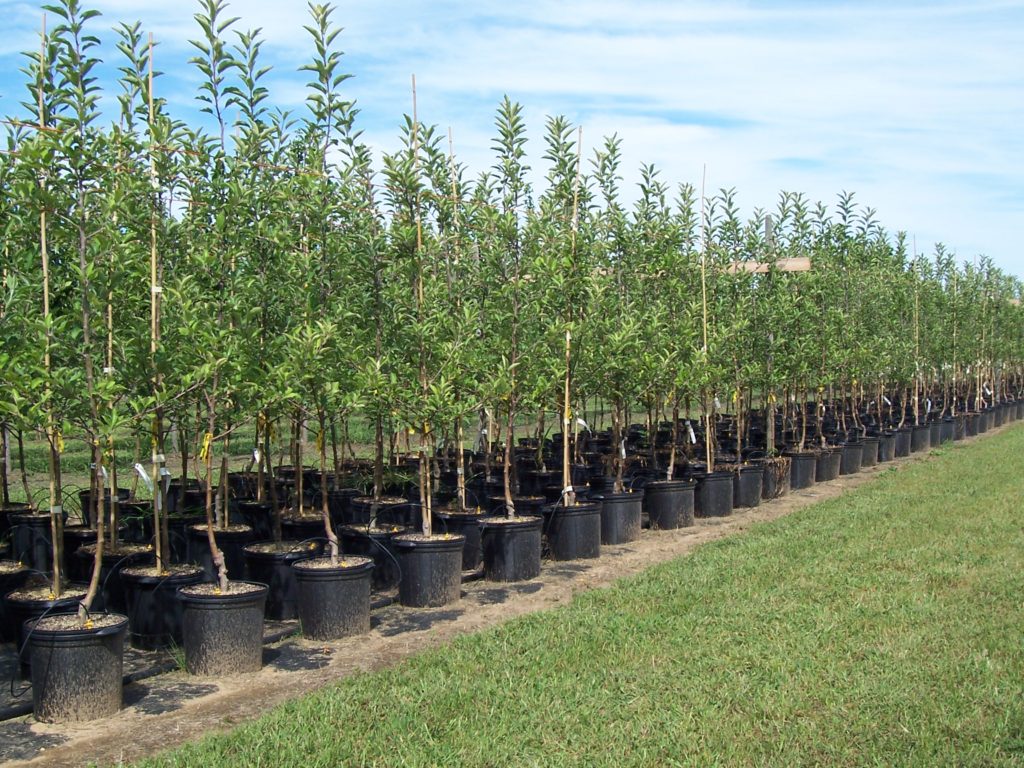
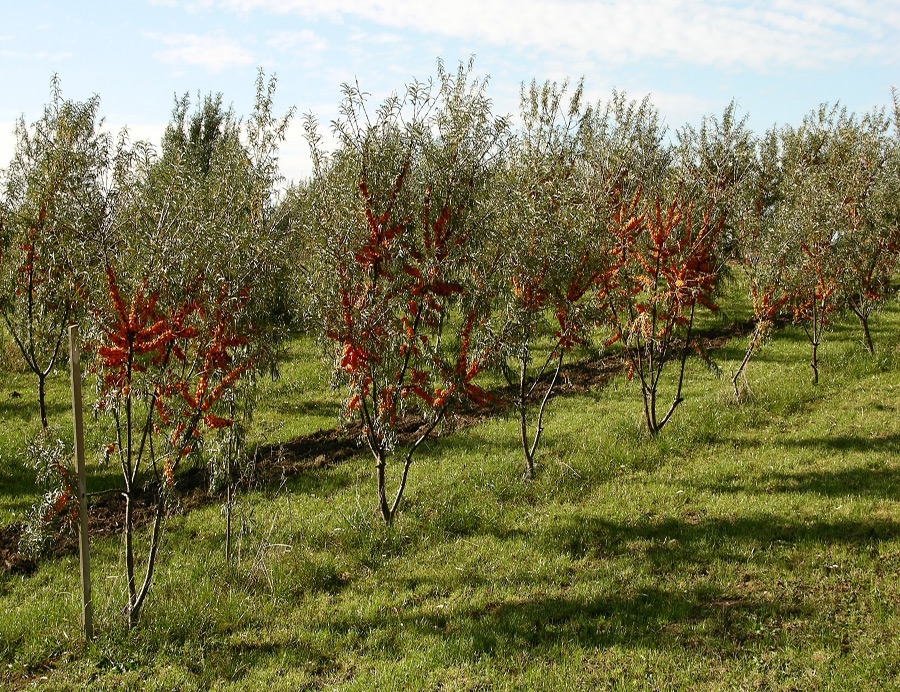
If you are growing flowers, fruit trees or plants for seeds, you will need to know plants bloom times. This will determine if they have enough time to naturally grow and bloom without being affected with sporadic cold snaps that could damage your harvest. We plan on planting a few apple trees next year as well as sea buckthorn bushes. Sea buckthorn is a lanky bush that can survive -40F temps and actually fixes nitrogen in the soil basically making it a natural fertilizer for the surrounding apple trees we will plant nearby decreasing fertilizing we will need to add. It also produces small orange berries that are extremely dense in vitamins and makes a great juice…from what i have read.

For our apple trees, as with most fruit trees, you can find many different varieties that all vary with differences from appearance of fruits, tastes, time of harvest, and disease resistance, and growing zones. We get pretty cold winters so I have chosen varieties that grow from zone 3-5. Just as important, we chose our trees based on when they will be ready for harvest. Apples will normally mature and be ready for harvest for about a month window as early as May or June to through October. If an apple is ready in June it probably takes a few months to produce fruit from flower. If we grow apples varieties that ripen too early in the season there is a strong chance that the trees will experience a late spring frost snap that could ruin apple blooms destroying that trees crops that year. We will chose an apple variety that bloom from June through October but mostly trees that are harvested sept-oct hopefully avoiding late spring frosts that could kill our apple blooms and chances of harvesting delicious fruit.
2) Seeds or Plants: when growing plants and vegetables, you can choose to decide to get plants grown in a nursery that simply need to be planted in the garden or take the added task of growing from seed. Buying plants from the store is far easier and less work but if you grow plants from seed, you can decide what varieties you choose to grow and there are far more options than whats available at a garden store and a fraction of the cost. As for trees and perennials, if you grow from seed, it is a much longer task as perennials take much longer to establish than annuals so many people choose to get trees and perennials from a garden store to tree nursery. We will buy all of our trees from reputable online tree nurseries that fit our check list of apple characteristics we want. As for some perennial flowers and all annuals I plan on trying to grow all of them from seed.
Note: if you decide to grow plants from seed, before the plants are transitioned outside to the garden, they will probably need a week or “hardening off” in order for them to survive when planted. If seeds have been growing inside, it is basically getting them accustomed to things like the intensity of the sun, winds, and temperature changes between daytime and night. You can bring your seedlings outside for an hour or two the first day and then bring them inside at night. Continue to increase the time they are outside until you leave them outside all day and night. Check the seed packets for recommendations when to plant or sow seeds inside as some plants are not ready to grow until the heat of summer kicks in while some plants thrive in the cooler seasons that can be started earlier in spring.
If you buy your own seeds, be responsible and do some research on which seed suppliers are organic and sell non-GMO seeds. I usually get my seeds from one of two places. Johnny Select Seeds is a great online store that has non-GMO seeds and most gardening products you would need. Bakers Creek is another smaller heirloom seed company that has some really great varieties of vegetables. I have had great success with seeds from these companies so have continued with them.
Watering: Just like any living thing, plants need water to survive. For many this is a simple solution, but for us this is one of the most complicated aspects of growing here. We don’t have a well so at this point we get water delivered and store it in water tanks. We also run on solar power so having automated drip irrigation is more complicated than you would think. We do have 12v water pumps that run off battery power and we use them with hoses to hand water plants on the property. This year we will continue trying to water by hand and hopefully in the future we will install an automated drip system that will alleviate the job of watering every day, especially if we decided to leave town for a few days. Watering is something you get better at reading the more you grow your own food. Most plants do fine with consistent moisture but not being soaked or water logged which could drown the roots and kill the plant. In spring and fall plants will need less water as the temps are a little cooler. You may need to only water once or twice a week while plants will need water every day or so during the peak of summer when temperatures are warmest.
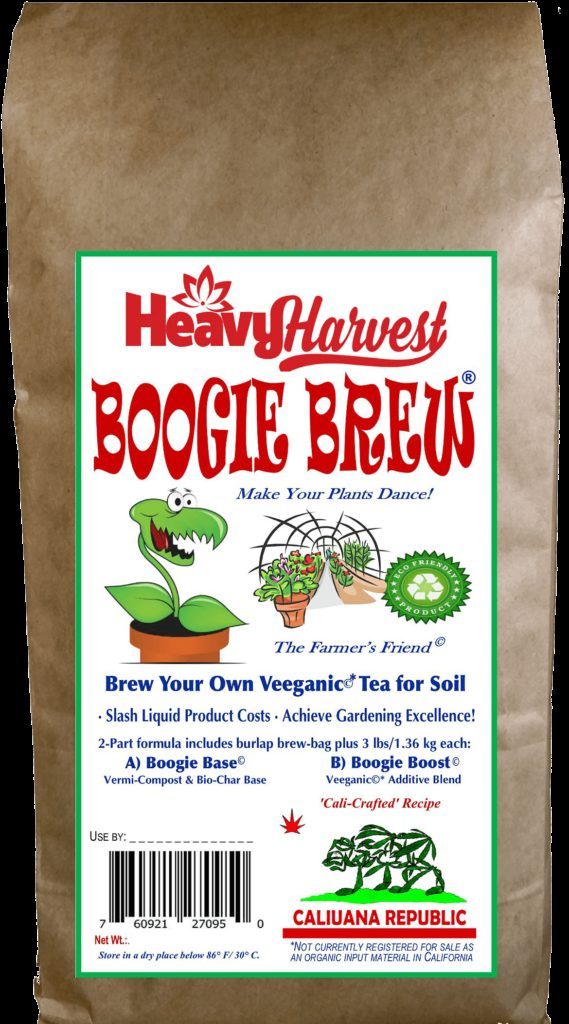
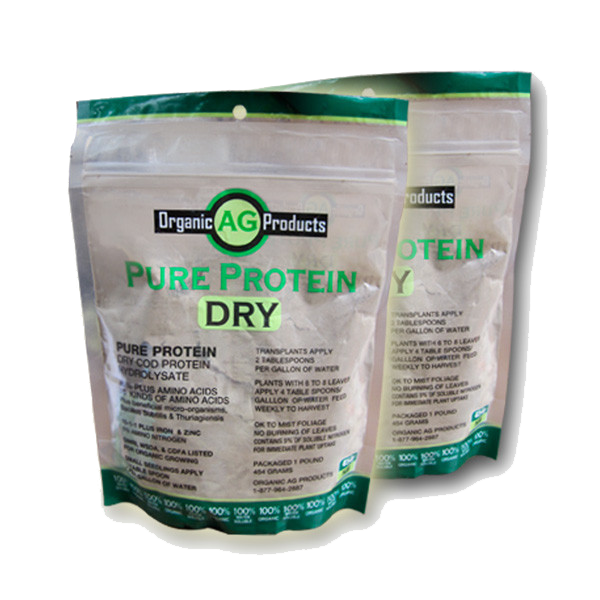
Fertilizing: At some point in the growing season you may want to add additional fertilizers, especially to heavy feeding plants. I plan on writing another post about fertilizers themselves but for now will just talk about what we are doing for out garden. I like to amend the soil before planting in it with organic granualr fertilizers that can not burn the plants. I also like adding rock dusts and greensand for added mineral content. Beyond that I don’t normally add anything extra except compost tea. This year I’ve been very interested in the Boogie Brew company that makes a line of pre-made compost teas in a powdered/granular form that you add to water with the addition of an aerator to increase the the oxygen content for optimal microbe production. I will use their part A and Part B for their standard tea and I am also going to add their Pure Fish Protein which helps the overall plant health and vigor. I usually let it sit for about 24 hours before I use it. You can water the mix down 1:2 to 1:4 once its made to help it go further but you need to use it once its made. ALSO: make sure you use dechlorinated water, or filtered as these chemicals will kill beneficial bacteria you want in the compost tea. The compost tea can be simply used to water the plants at the base but i also like to spray the plants over the tops and bottoms of their leaves. This is a great way to feed your plants as they can take a great amount of nutrition through their leaves. The compost tea helps creates a healthier plant which should help reduce unwanted pest pressure during the growing season.
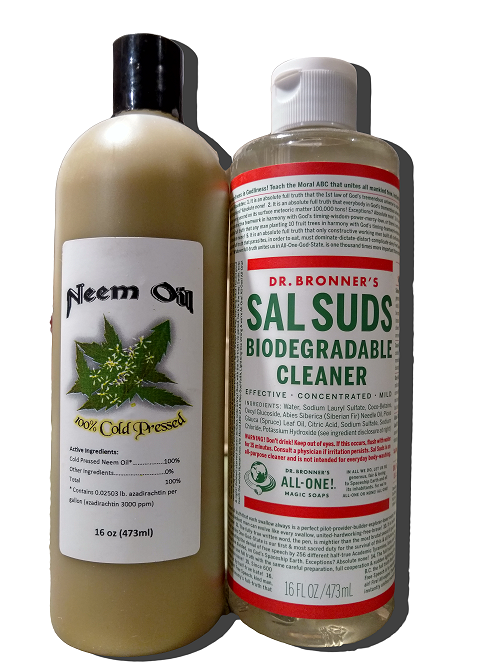
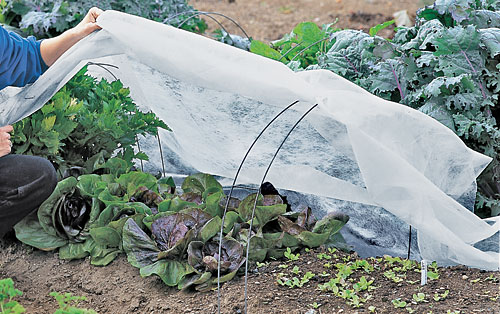
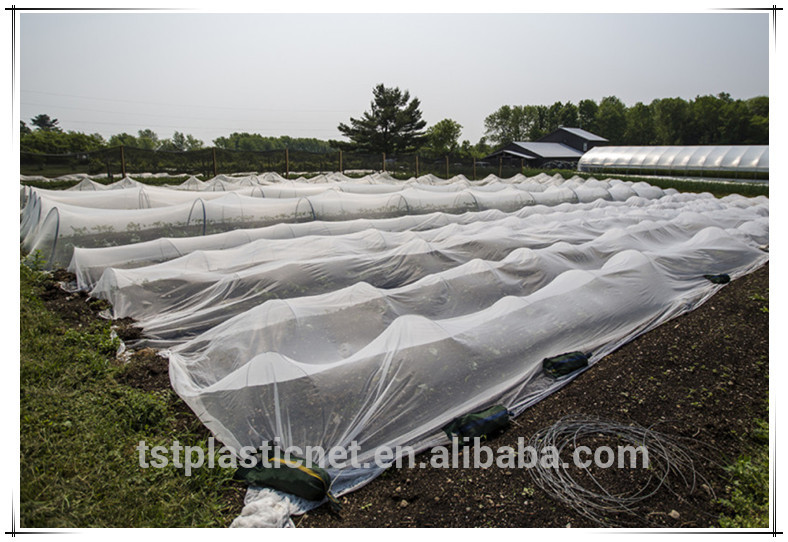
Bugs: Bugs are a good thing in your garden, but If you have overwhelming bug pressure on certain crops, even if your plants are healthy, there are some organic/safe options to consider. If you want to eliminate spraying plants in general, you can use row covers or insect nettings. These are simple woven fabrics you can put over crops eliminating pests making an unwanted home. The insect fabric is laid over crops on the ground or is laid over a series of metal or pvc hoops creating a mini “hoophouse”. Boogie Brew also have a great natural pesticide you can use to help prevent unwanted bug pressure. They use a combination of Neem oil which is already and natural insecticide mixed with Doctor Bronners Sal-Suds. To be clear though, I tend not to use any “pesticides” as a solution to eliminate insects, but try to figure out the imbalance that caused the overpopulation of those insects. In nature though, if there is an imbalance creating an overpopulation of a certain insect or animal, at some point, a natural predator will move in to even out the balance. You can also use insect nettings over crops which helps eliminate unwanted pests from making you crops their home and having to use insecticidal sprays in the first place. There are different types of nettings offered by different companies but I usually get something offered at Johhnys Select Seeds. they have good products for good prices and cater specially to home gardeners and market gardeners. Besides keeping out bugs, the netting makes a mini microclimate that many salad greens and crops will thrive with.
After its all said and done, we have been planning our garden for the past month or so and we can not wait to put all our plans to action and see our property produce food for us. The more you plan ahead, and the more you know, the less stressful and more productive your garden should be. And like any hobby or passion, the more you do something, the more tips and techniques you will learn that will progress your skill. Gardening is a skill that everyone should be connected with as it is truly humbling to try and grow your own food while working with nature and watching its elegant beauty.